|
DETAIL
& PAINT - Primer
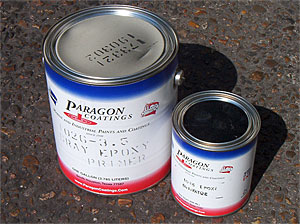 |
1.
The key to any paint job is preparation and attention
to detail. Patience during the primer stage will yield
excellent results. For your epoxy hull, automotive grade
lacquer primer is recommended. For this project, an
industrial grade epoxy primer manufactured by a local
plant was used.
NOTE:
When spraying solvent based paint be sure to observe
all necessary safety precautions such as proper breathing
protection and ventilation of flammable solvent fumes. |
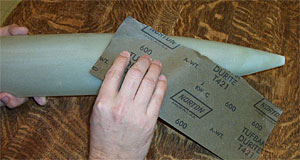 |
2.
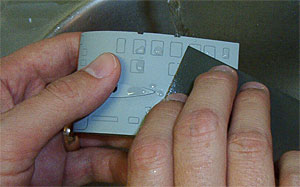
Sand the entire hull with 600 grit sandpaper. The
goal is to remove any of the shine from the surface.
Cast resin parts should be sanded as well with 400 grit
to remove any remaining flash or mold imperfections.
|
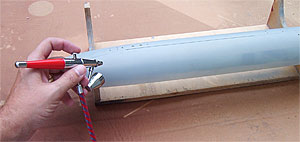 |
3.
Lay out the hull halves and resin parts in a well lit
work space which will not be damaged by overspray. Wipe
down the hull and parts with thinner to remove any residual
oil or grease. Prepare the primer per manufacturer instructions.
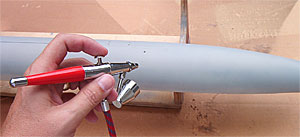
Spray
with a double action air brush (a Paasche VL was
used for this project) in long, even strokes. Apply
a thin coat of primer to avoid sags or runs. The
intricate scribed detail in the hull and sail should
begin to really pop out. Avoiding heavy applications
of paint to these areas will keep them sharp. |
 |
4.
Once the primer has dried sufficiently (consult manufacturer's
recommendations), wet sand the primer with 800 grit. Be
careful not to sand back down to the epoxy hull itself
or remove any scribed detail. As the boat becomes smooth,
the paint dust slurry will fill in any tiny pin holes
in the hull. |
 |
5.
For larger gaps and imperfections, such as seams and
joints around the stern planes, apply automotive
grade body putty. ThorDesign recommends Nitro-Stan
9001. It is quick drying and waterproof, exhibiting
little or no shrinkage over time. Once the putty
dries in the seam, wet sand the area smooth with
800 grit. |
 |
6.
Clean excess dust from the parts and run a small pointed
object, such as a scribing tool or thumbtack, through
any scribed detail that is filled with dust. Air brush
another light layer of primer over the entire surface
of each part.
Repeat
steps 3 - 5 until all surfaces are smooth and blemish
free. |
| |
Next
|
|
|
What
about Spray Cans?
Don't
own an airbrush and don't want to? Applying your paint
from aerosol spray cans is your alternative. Craft,
hardware and automotive supply stores carry a good selection
of products which can produce a finish that is quite
respectable.
|
|