|
|
1.
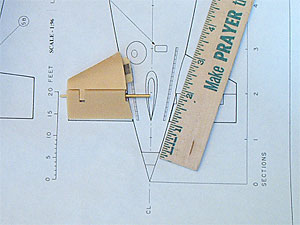
The first step in installing the stern planes is to
locate and mark their position on your model's hull.
Using a ruler and your Permit plans, measure
the distance from the end of the hull to the trailing
edge of the stern planes (7/8").
|
|
|
2.
On your model, measure the same distance from the end
of the hull along the hull's side seam. Place a mark
in pencil on the seam to indicate the point of the stern
plane's trailing edge. NOTE: the trailing edges of both
rudders and stern planes should be the same distance
from the end of the hull.
|
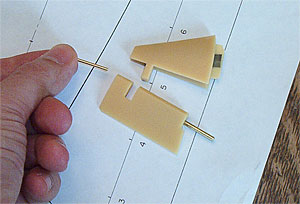 |
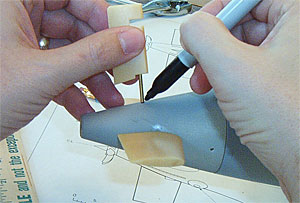
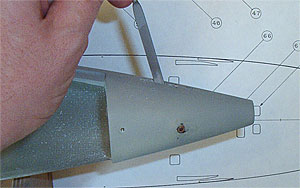
3.
Remove the hinge pin from the assembled stern planes.
|
|
|
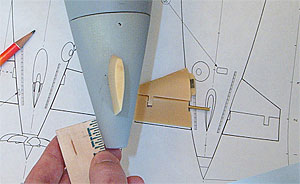
4.
Using the plane itself, align it's trailing edge with
the mark placed on the hull. Mark the point where the
control shaft touches the hull seam with a sharpie. Repeat
steps 2 - 4 on the opposite side of the hull for the starboard
stern planes. |
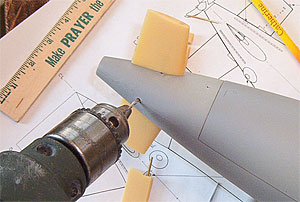 |
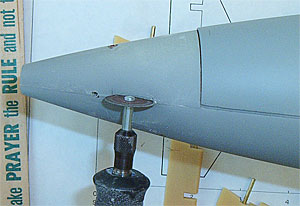
5.
Drill a hole for the control shafts on the sharpie mark
using a 3/32 bit. Make sure the hole is centered
on the hull's side seam.
NOTE:
bearings will be installed in the holes for the stern
plane control shafts as was done for the rudders. However,
at this point we only want a hole sized for the control
shaft itself.
|
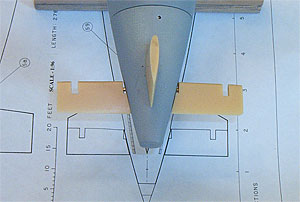 |
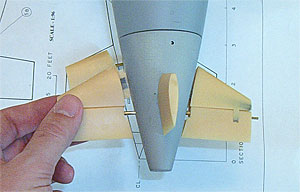
6.
Slip both stern plane control shafts into the holes and
check for fit. Their trailing edges should form a straight
line across the hull and should be in line with the rudder
trailing edge. |
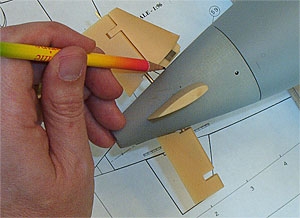 |
7.
Reassemble the stern plane appendages with the hinge pins
and reinsert the stern plane control shafts in the holes.
Line the appendage mounting tab up with the hull side
seam and mark where it touches the hull. Do this for both
sides. |
 |
8.
With the Dremel tool and cut off wheel, cut a slot
along the hull side seam where the stern plane mounting
tab was marked. NOTE: do this procedure outdoors or in
the shop observing proper safety and health precautions. |
 |
9.
With a flat file, open up the slot to fit the stern
plane mounting tab.
|
 |
10.
Reinstall the stern planes into the holes and mounting
tab slots. Visually check for alignment and fit. Make
any necessary adjustments by further filing out the
mounting tab slot. Carefully file the forward stern
plane appendage where it meets the hull to ensure a
close, accurate fit. Once everything looks good, it
is time to install the stern plane bearings.
|
| |
Next
|